How to Measure Your Shoulder Slant
by Mrs. Moriya Chesler
Besides the natural neckline, another very important measurement that needs to be accurately measured is the shoulder slant. Before we delve into how to measure the shoulder slant, let’s go through some basic history of the human shoulder slant.
History
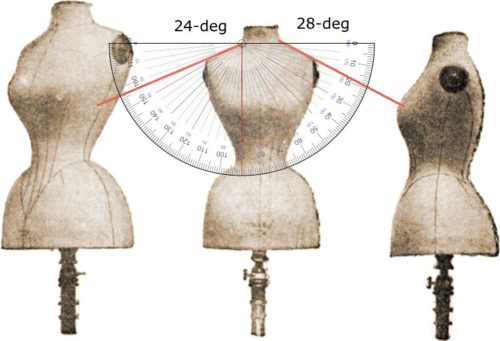
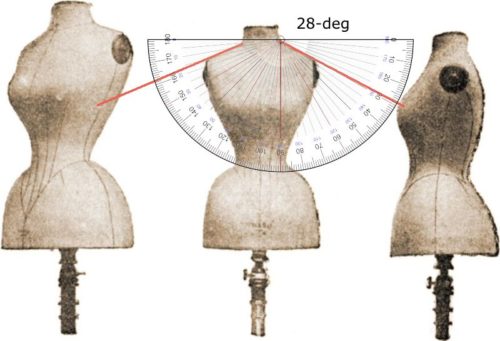
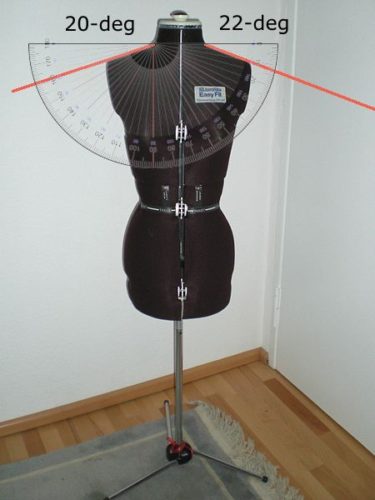
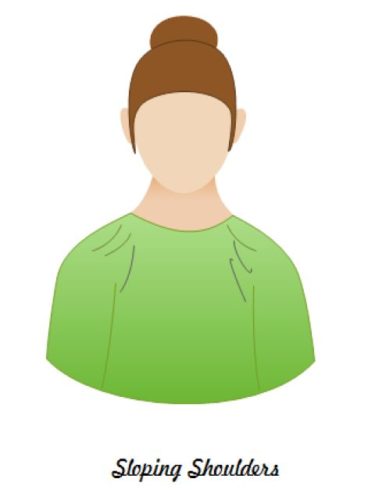
In the olden days, as you can see in this picture, the shoulder slant of this dress form is very steep. This tells us that women in those days had very steep shoulder slope or slant.
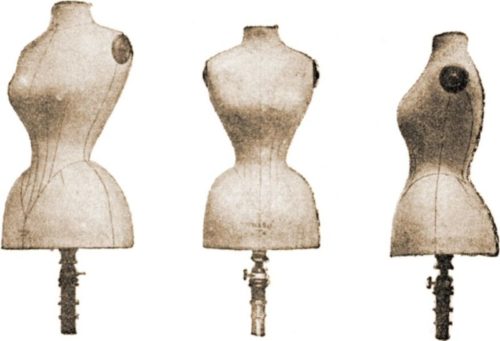
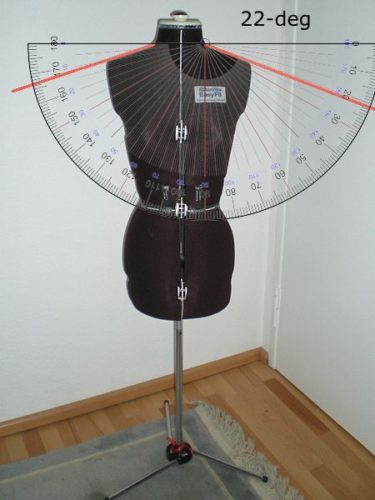
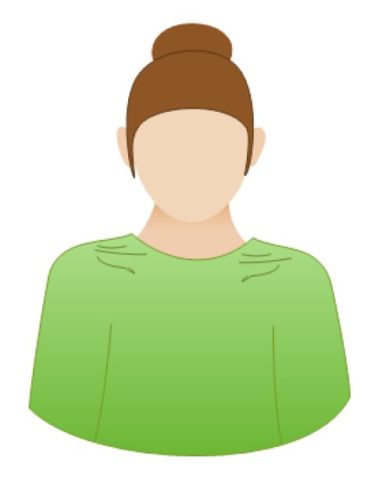
Another vintage dress form that is even earlier than the one above shows that the shoulder slant is a little less steep.
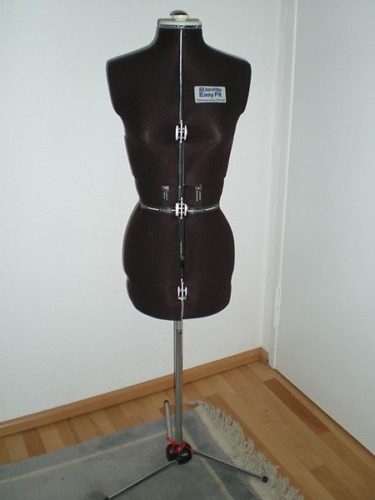
The modern-day dress form has an even less-steep shoulder slant. Besides the shoulder slant, other body proportions have changed significantly over time.
Why Shoulder Slant
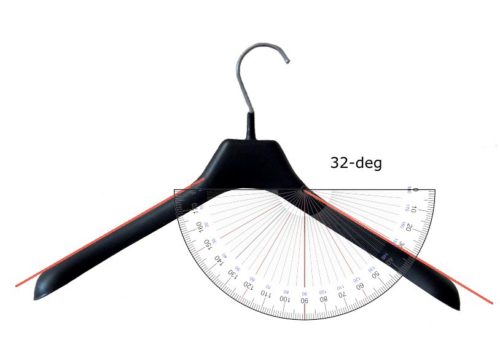
A garment with a properly designed shoulder slant that matches the wearer will hang nicely and smoothly on the wearer. See below.
Garment whose shoulder slant matches the wearer.
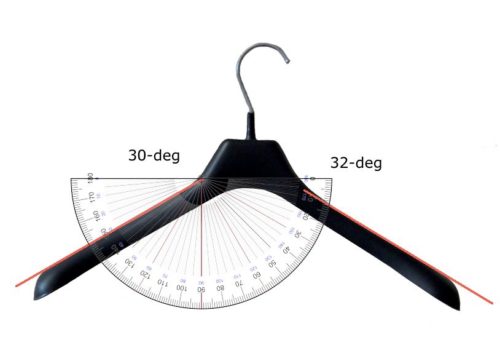
If the garment’s shoulder slant is higher than the wearer’s shoulder slant, then the following will result.
Garment with a higher shoulder slant than wearer, resulting in vertical drag lines as the wearer’s steeper shoulder slant pulls the garment down.
If the garment’s shoulder slant is steeper than the wearer’s shoulder slant, it will also result in drag lines stretching horizontally on the garment.
Garment with steeper shoulder slant than the wearer’s, resulting in horizontal drag lines and gaping neckline at the sides while the wearer’s more square shoulder slope pulls the garment horizontally.
To avoid either of the above situations, the wearer has to wear a garment whose shoulder slant is designed to match her shoulder slant.
How to Calculate the Shoulder Slant
The subject of how to compute the shoulder slant has been challenging in the field of dressmaking. I will show you the least error-prone method that is also the most intuitive. Here are two methods.
Method A
Ideally, you need two people: the subject and the measurement taker; and these materials: large paper, pencil, ruler, and protractor.
Step 1
Stand the subject with her back against a wall which has been lined with a large sheet of paper. The subject should be relaxed and not nervous and stand in a relaxed posture that she usually is comfortable with.
Step 2
Locate the neck-shoulder point of the subject. Mark this point with an X or a dot. Take a pencil and ruler and draw a straight line from neck-shoulder point horizontally away from it. Draw another straight line from the neck-shoulder point touching the shoulder slope of the wearer. We call this the shoulder line.
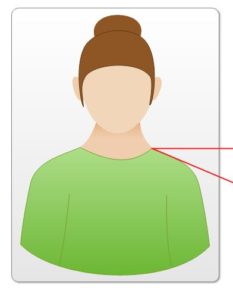
Draw a horizontal line and a shoulder line from the neck-shoulder point.
Step 3
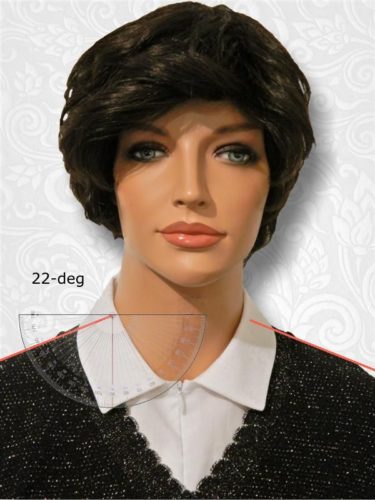
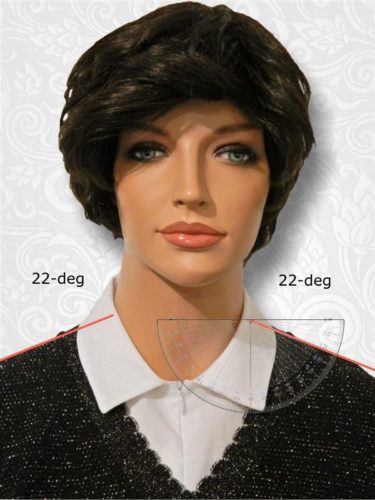
Take a protractor and measure the angle created between the horizontal line and the shoulder line at the neck-shoulder point. This angle is the shoulder slant.
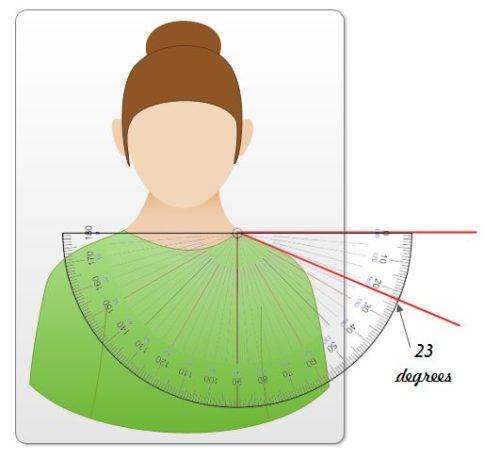
Measure the angle created by the two lines with a protractor. The shoulder slant of the subject is 23-degrees.
Method B
Use this method only if you are skilled in using a camera.
Step 1
Set up your camera so that you can take a portrait of the subject at the correct viewpoint as though you are taking a passport picture.
Step 2
Print out the picture taken. Use your ruler and pencil and draw the two lines as in Method A.
Step 3
Use your protractor to measure the angle created between the two lines.
Shoulder Slant Samples
35-degrees shoulder slant
40-degrees shoulder slant